Now, you don’t have to ruin your health food goals just because it’s pumpkin season! (I mean, you totally COULD, but why would you do that?) You can totally have your Pumpkin Spice and Everything Nice and STILL be a total health food rockstar!
You just need to have the right recipe!
And guess what? This is one of them! In this Pumpkin Spice and Everything Nice Baked Oatmeal recipe, you get lots of healthy goodies like cholesterol-reducing oats, blood sugar-lowering cinnamon, immune system-boosting pumpkin, and omega-3 filled flaxseeds.
So check it out! Here’s my recipe for Pumpkin Spice and Everything Nice Baked Oatmeal!
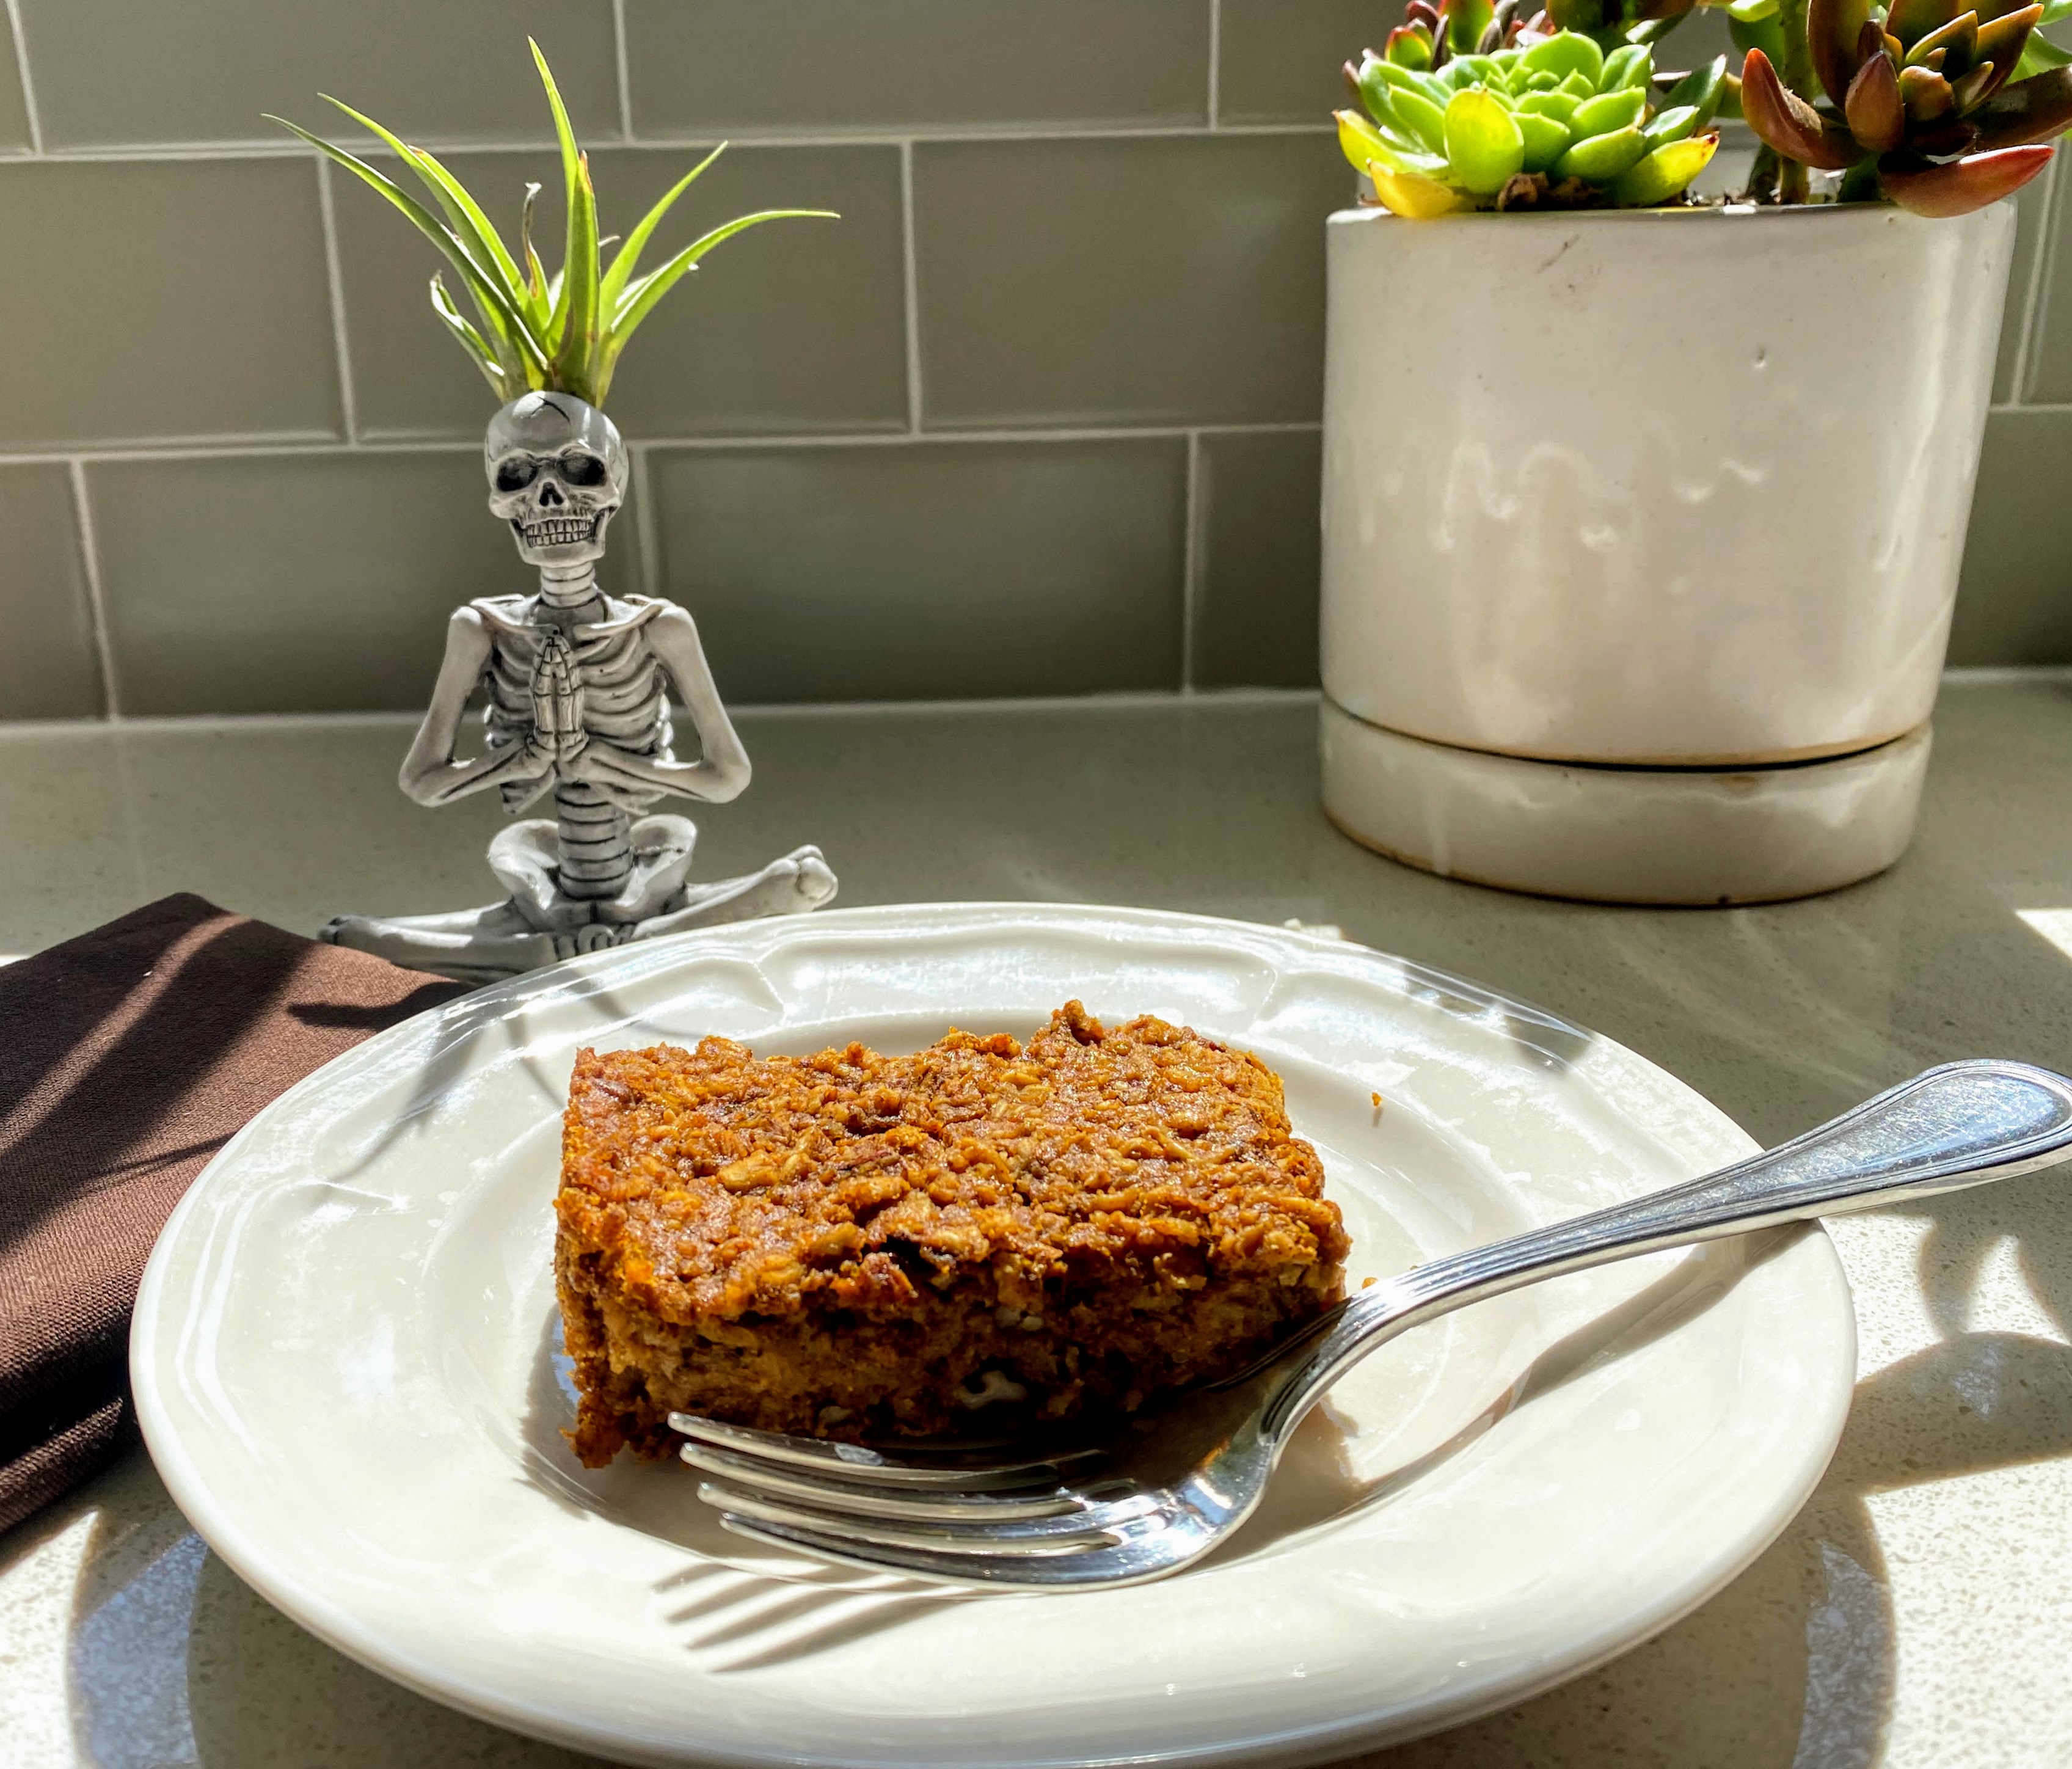
Pumpkin Spice and Everything Nice Baked Oatmeal
INGREDIENTS
2 Tbsp ground flax (You can buy pre-ground or you can grind your own flax seeds in a high-powered blender)
5 Tbsp warm water
2 cups One Degree Organic Gluten Free Sprouted Rolled Oats (or any other rolled oats you like!)
3 tsp pumpkin pie spice
1 tsp baking soda
¼ tsp salt
1 ½ cup almond or cashew milk
1 cup organic pumpkin puree
¼ cup pure maple syrup
1 tsp vanilla
¼ cup chopped pecans
Optional Add-Ins: chopped dates, raisins, craisins, blueberries, ground ginger, ground cinnamon
DIRECTIONS
Preheat the oven to 350 degrees F. Lightly grease an 8X11 inch glass pan with coconut or avocado oil.
Now you’re gonna make a flax egg! In a small bowl, combine the ground flax and warm water. Stir and let it sit for 5-10 minutes until it thickens and becomes gel-like (should be a little like the consistency of an egg white).
Separately, in a large bowl combine the rolled oats, pumpkin spice, baking soda and salt. Stir to mix the ingredients. Add in the flax egg, “milk” of choice, pumpkin puree, maple syrup, vanilla and pecans. (Here is where you could add any of the “Optional” things if you want to!) Stir to combine. Let the mixture sit for about 5 minutes to let the oats soak up the liquid. (PS You can taste test here cuz there aren't any raw eggs involved--so if you like more spice or more sweet, feel free to adjust!)
Pour the mixture into the greased pan. Shake the pan so that the mixture is evenly distributed.
Place in the oven for 40-45 minutes or until the edges are firm and golden brown and there’s a little springiness in the center. Remove from the oven and let cool for 5-10 minutes before serving.
How do you STORE baked oatmeal?
Cut it into squares and store it in an airtight container in the fridge for about 4-5 days
Cut it into squares and store it in the freezer in an airtight container for about a month.
How do you EAT baked oatmeal?
In squares, cold, right out of the fridge (no utensils needed!)
In squares, heated, with a fork (my favorite, easy option!)
Heated squares with “milk”, maple syrup, berry compote, drizzled nut butter, yogurt, or *Cinnamon Cashew Cream on top.


